Tuesday 18 February 2014

It's a frame up (part 2)

I made a start on assembling the chassis for my DHR loco project.

Unlike a conventional inside framed chassis with dummy outside frames I am building this one as per the prototype with just the outside frames.
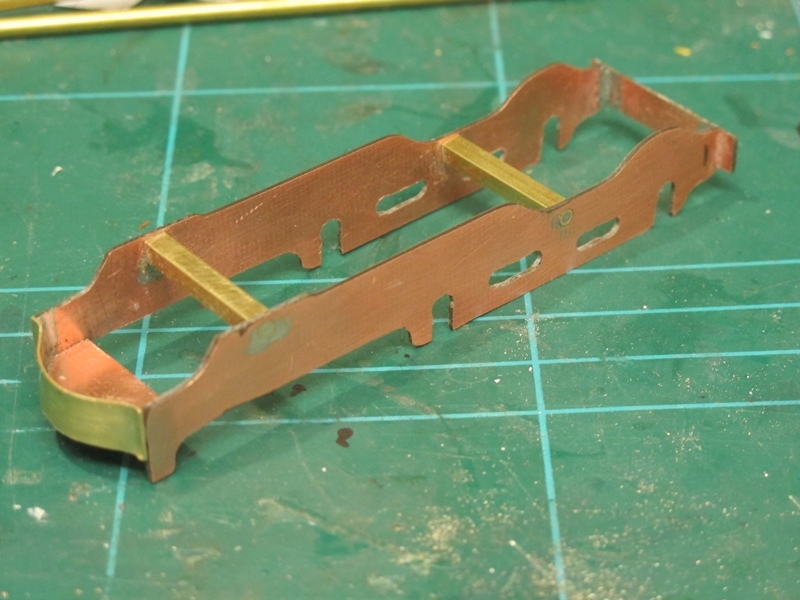
The space between the frames being about 21 mm giving plenty of room for a decent sized motor and gears.
The main frame spacers were cut from some 4x4mm square tube with a 1/16th inch diameter brass tube through the middle, the round tube being soldered into the frames.
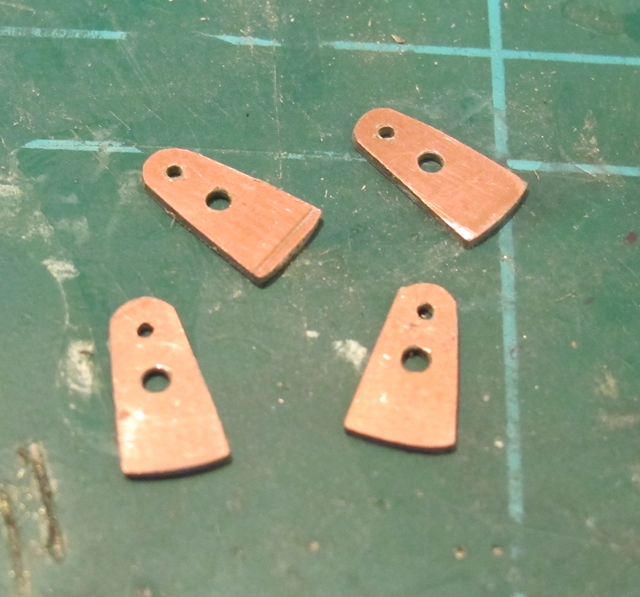
at the front another piece of copper clad PCB cut and filed to shape forms the frame spacer and "shelf" for the tool box. A piece of 1/4in wide brass bent to shape by eye forms the distinctly shaped front "Buffer beam" Like wise at the back,another piece of copper clad forms the stretcher under the front of the firebox and the extension frames will be attached to this.

This picture shows the frames under assembly and one of the wheel sets.
The wheels are Alan Gibson 16mm Bullied tender wheels for 4mm scale.
I made the axles from 1/8th brass tube with 3/32in Tube for the crank extensions.
The cranks shown here are Markits 4mm scale items which I didn't use.
I will be using the home made ones seen in my last blog entry.
Also shown is a Alan Gibson 38:1 self contained gearbox. Again I did not use this item as for some reason it has a tight spot and tends to stick once every revolution. I'll sort that out and use it in another project.

Here is progress more or less as it stands today.
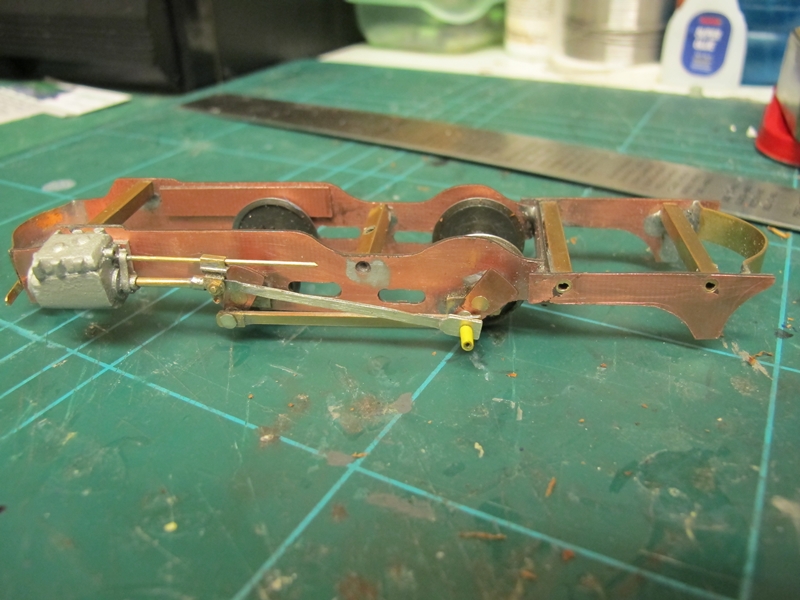
The left hand cylinder/ slidevalve assembly made up and fitted, and the single slide bar cross head and conrod fitted for testing.
The cylinder was made up from various bits and pieces including Glass fibre tube, PVC and brass tubes and a lot of cutting and filing!
The cross head is a modified Comet models 4mm scale item. the conrod was fabricated from the scraps of Nickel silver etch in a similar manner to the connecting rods seen in my last entry.
Note also that the rear frame extensions have been cut, shaped and soldered on to the main frames with the rear drawbar cut, bent to shape by eye again, and also soldered into position.

Finally, a rather cruel closer look at the progress up to the 7th February.

The wheels and axles can be seen as well as the gear sprocket.
Note that the centre spacer is slightly angled to allow the motor to sit properly and the worm engage the gear correctly.
Although not shown on any of the pictures I have had the motor fitted and the chassis running to check all is OK.
I can happily say that all runs fine so far.
The motor has been removed again so that the right hand side cylinder and conrod can be made and fitted. After that comes the Walschearts valve gear!

That's the progress to date, hope to post more soon.
Cheers!
Frank

Wednesday 5 February 2014

It's a Frame up!

Regular readers of my jottings might have noticed that I am posting more and more about my 7mm narrow gauge stuff.  I have really caught the bug for this scale, but that doesn't mean I have lost interest altogether in my 4mm scale stuff, it just means i enjoy working in this scale and building freelance models makes the imagination work even better.
Having said "freelance" the latest project does not come under that banner, this job is going to be as close to a prototype as i can make it.

I have always liked the little 0-4-0 saddle/well tank engines of the Darjeeling and Himalayan railway, there's something about the "toy train" that has character and charm.

Anyway I digress, I have recently made a start on scratch building a DHR class B loco, using drawings given to me by a friend.

First job is the chassis and in particular the connecting rods as these set the datum for the frame axle holes or horn block guides.

Here's the connecting rods, made up from the brass strip edges from a used fret of other bits.
(I always keep these bits after I have used the components on a fret just for this type of job)

The strip is laminated to give strength and a 3rd lamination at each end for the bearing bosses.
Clamped together for drilling ensures the hole centres are the same for both rods.


The frames themselves are cut from very thin (1mm) double sided copper clad PCB material. something I have never used before for loco chassis frames.
It is surprisingly strong and rigid and solders like a dream with less heat required than using brass or nickel silver.
to cut the frames I printed out the frames drawing to 1/43 scale, stuck it to the PCB and cut out with a fine toothed fret saw and files. By clamping the two together and cutting both at the same time. The con rods were then used to mark and drill for the axle positions.


  Next up was the outside fly cranks.

again cut from the same material as the frames.

I used a Romford crank as a starting point and drilling template for the hole centres. The cranks were then bolted together through the axle hole using a 10 BA screw and nut whilst they were filed to shape thus ensuring they were all the same and the correct shape of the prototype.

14 BA pins and nuts are used as crank pins, the screws being soldered in from the rear of each crank.


When i write the next entry to this blog regarding this project I will have assembled the frames and hopefully have a free running rolling chassis.

More soon  and Cheers!
Frank

Saturday 1 February 2014

Wagons Roll (Again)

This entry finally concludes the work done on my workbench over the last Christmas - New Year holidays.

You can never have too many mineral wagons in my opinion and for "Ashwood End" I think i am going to need a few!

I usually build my narrow gauge wagons on a propriety 00 gauge chassis from either Dapol, Bachmann or old Hornby but, this time as i had found some old cast white metal axle boxes and springs in the back of the draw decided to scratch build the chassis as well for this one.

 looking underneath the construction is pretty self explanatory.
I used "Evergreen" sections for the chassis rails and sole bars.

Brake gear was taken from a Mainly Trains etch made for 4mm scale wagons.

As per my usual practice for my narrow gauge stock Bachmann tension lock couplings are fitted.


The top view shows the wagon ready for painting. The brace of plastic strip is just to stop the sides from caving in!

The bracing piece will not be seen once the wagon receives it's chosen load.


The etched brass corner plates and strapping was also from another one of Mainly Trains etches.


Finally, The finished wagon all painted, weathered and coaled up.

Real coal has been used for the load, this gives the wagon a bit of weight and improves the stability of the wagon when running on the track.


Another blog entry soon I hope.
Cheers!
Frank